Tips for Mastering Dressage Braids
Katie Navarra

Photos Courtesy of Joanna Jodko
Horse braids don’t technically affect your score, but there is an unwritten rule in dressage and hunter/jumper events to braid your horse’s mane. Horse mane braids add a polished touch; the icing on the cake, so to speak.
“Turnout is your first impression down the centerline. It is the finishing touch on a polished ride along with a confident smile that says you have put in the effort and you have pride in your horse,” said Christine Phillips, a professional braider. “When done correctly, the braids complement the horse’s elegance and enhance the conformation of the neck.”
The current trend in dressage braiding is called the Dutch style. These braids are larger and more widely spaced than traditional hunter-style button braids. The Dutch style has fewer braids from the poll to the withers so the neck is more pronounced to create an elegant look.
“I usually take about 40 minutes to braid a dressage mane. I give myself at least 90 minutes to avoid rushing or any unforeseen surprises,” Phillips said.
Tools of the trade
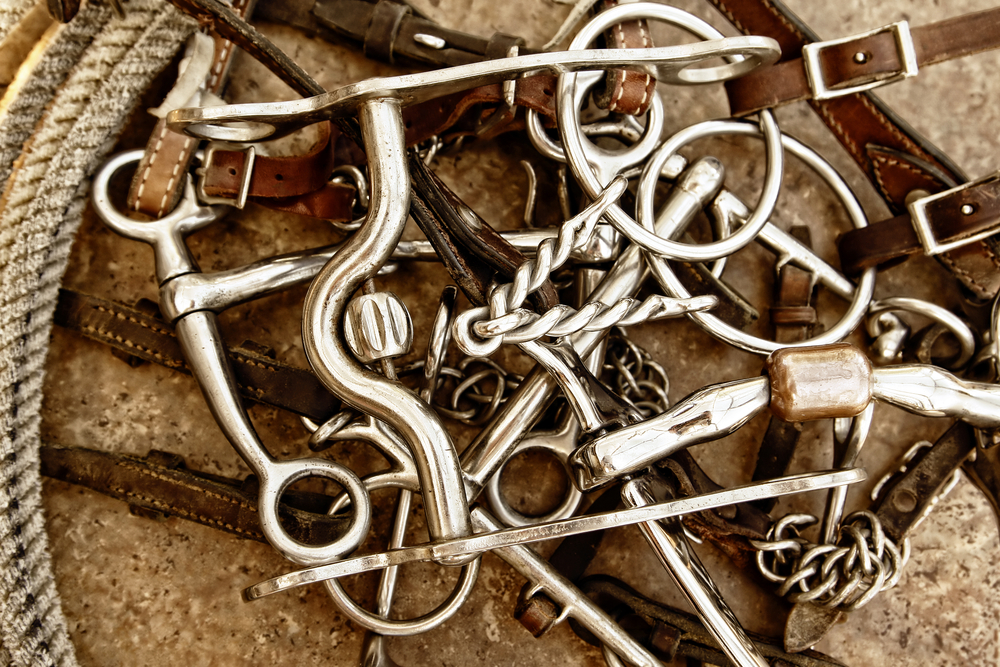
These tools make dressage braiding easier:
- Stool
- Pulling comb
- Rubber bands
- Spray bottle with water
- Hair clip
- Mascara brush
- Seam ripper
- Yarn
- Darning needle
The mane event
Neat braids start with an even mane. Typically, the mane is thicker near the poll and must be thinned. Most horses do not appreciate mane pulling in that area. Phillips recommends thinning a little each day after a ride and by taking just a few hairs at a time.
“It is okay to have a fairly thick mane for Dutch braids; it is just neater if the mane is even so only pull to even it out, not to thin it," she said. “Rub some liniment in the roots to numb the feeling and have treats handy to reward good behavior."
Phillips keeps the mane length two-hand widths long. She does not mind using scissors for a slightly blunt cut. Others prefer clippers for a more natural edge to the mane.
Braiding basics
For the neatest dressage braids avoid washing or conditioning the mane before braiding.
“Unless your horse absolutely leaves braids alone, do not leave braids in overnight or when the horse can rub them. That only creates breakage at the top and flyaways to manage,” she said. “If I do have flyaways, I like to use a mascara brush with pomade to tame them.”
Step one: Brush, then comb the entire mane to remove tangles.
Step two: Spray the mane with water.
Step three: Section the mane evenly down the neck securing the excess out of the way with clips or rubber bands.
Step four: Start the first braid where the bridle path ends. Separate the section of hair into three even strands. Braid upward for three or four turns and then slightly down and across.
Step five: Fold over the ends and secure with a rubber band.
Step six: Continue down the neck with as few braids as possible.
Building the “button”
Once the mane is braided there are three ways to create the button look.
- Rolling: Begin at the bottom of the braid and roll it up under itself towards the horse’s neck. Secure with a rubber band.
- Folding: Fold the braid in half placing the end up under the base of the braid. Fold in half again and use a rubber band to secure. Placing the rubber band as close to the base of the braid helps it sit nicely on the horse’s neck.
- Stitching: This method uses yarn to stitch the braids into place instead of rubber bands.
- Add matching yarn about 12-18 inches tied to the bottom of the braid in a single knot.
- Use a darning needle to fold up the braid. Phillips uses a bright color needle for visibility in case she drops it in the stall.
- Thread the yarn through and fold the braid under, stitching it up through the top.
- Sew the braid together with one stitch in the middle and roll it under into a ball.
- Sew the ball into the spot where you want it and tie it off when secure.
- Trim off any excess yarn.

Regardless of the method, all braids should be nearly the same size, shape, and height. The thickness of the mane may vary over the length of the neck, but the width of each braid section should be the same.
“Give your horse breaks during the process and make it a pleasant experience. Bring cookies and reward good behavior,” she said.
Finish with the forelock
Phillips usually uses a French braid unless the horse is wearing an ear bonnet or the area is thin. She first sprays a mane and tail product into her hand and smooths it on to avoid spooking the horse or getting it in the horse’s eyes.
- Comb a small section from each side.
- Add hair to the braid on each side until it becomes a three-strand braid. Pull across rather than down to keep the braid tight.
- Fold over the end and place a rubber band.
- Tie a piece of yarn on the end, thread your darning needle and sew up through the top where you started your braid.
- Sew the braid together, hiding the stitch by going under where you went up.
- Fold or roll the braid (depending on length) into a button and sew the button until it is secure.
- Avoid oversewing.
“This braid will be flat unlike the braids along the neck. When possible, it is super helpful to have someone hold the horse’s head,” she said. “The forelock braid may be difficult to remove, but you never want to cut it.”


